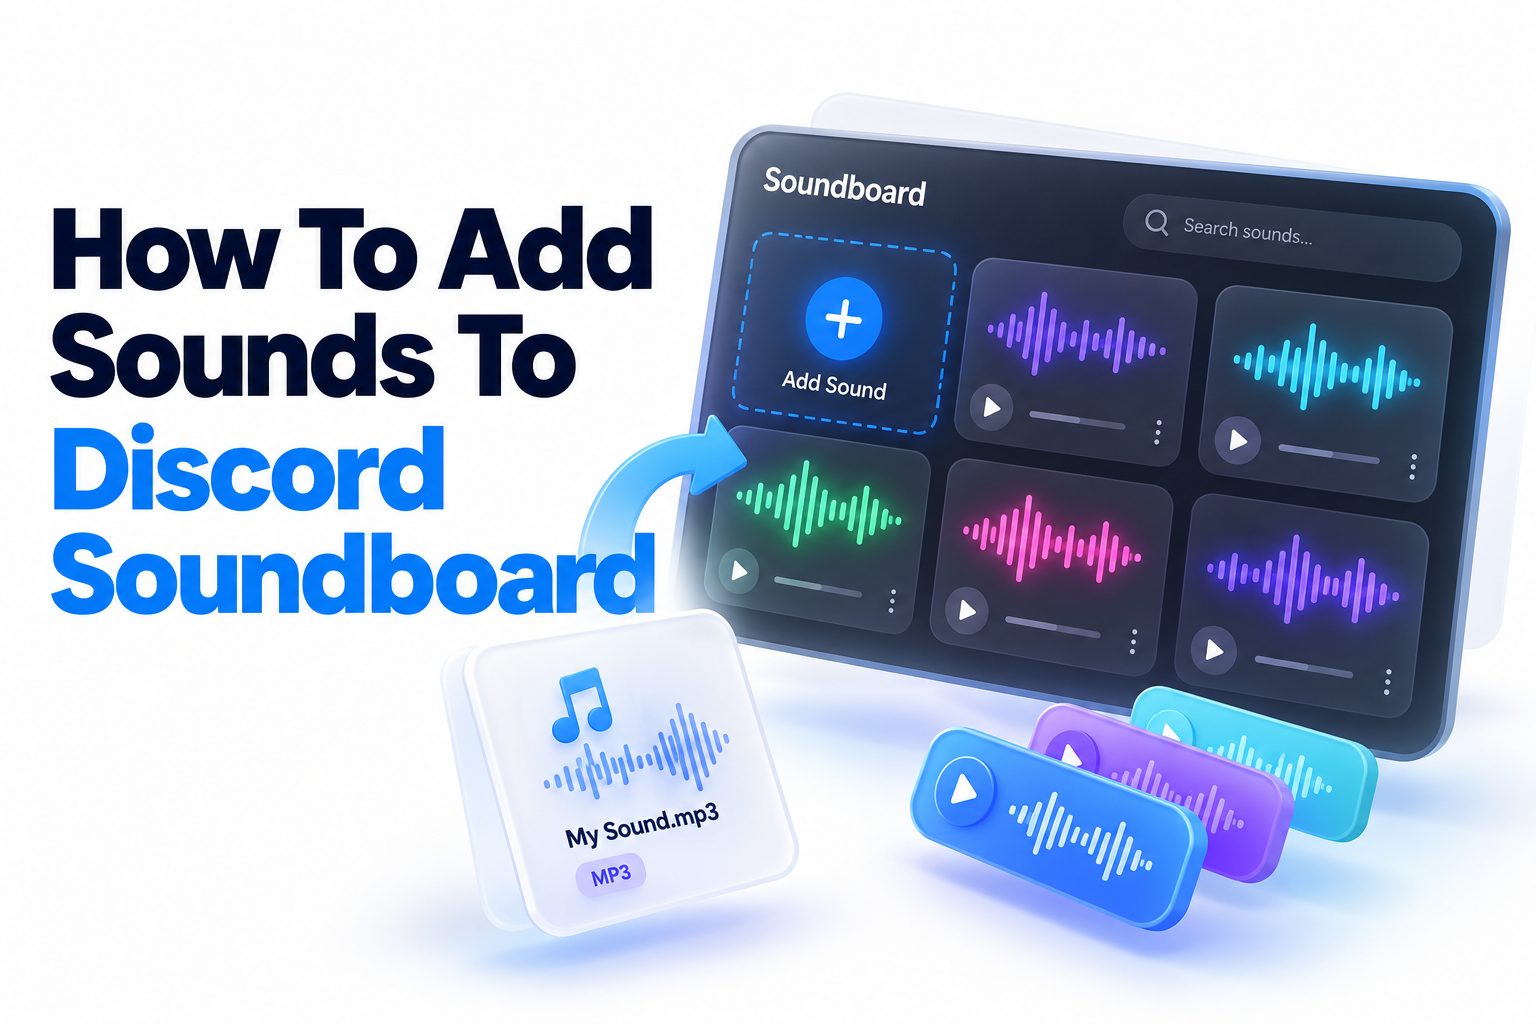
Adding custom sounds to a Discord soundboard is a simple way to make voice chats more expressive, funny, and memorable. You can upload short audio clips such as reaction sounds, catchphrases, memes, music stings, game effects, or personal recordings, then play them during a voice call with a single click.
The process is available through Discord’s server soundboard, but there are a few requirements and limitations to know first. You generally need the right server permissions, the audio file must meet Discord’s format and length restrictions, and the soundboard may work differently depending on the server’s boost level and your device.
This guide explains how to add sounds to discord soundboard from desktop, what audio files work best, how to manage and organize clips, and what to do when the upload option is missing. You will also learn how to adjust soundboard permissions, avoid common upload problems, and use sound effects without disrupting the conversation.
Discord Soundboard Requirements
Before uploading a sound, check that your account and server meet the basic requirements. Soundboard clips belong to a specific Discord server, so adding a sound to one server does not automatically make it available in every community you join.
You also need permission to manage soundboard sounds. Server owners and administrators usually have this ability, but regular members may not see the upload option unless a role specifically grants it.
The main requirements include:
- Access to a Discord server with Soundboard enabled
- Permission to manage soundboard sounds
- The Discord desktop app or desktop web version
- An audio file supported by Discord
- A sound clip that meets Discord’s length and file-size limits
- A server with an available soundboard slot
Discord may provide additional soundboard slots when a server reaches certain boost levels. A server with no remaining slots may require an existing sound to be removed before a new one can be uploaded.
Supported Audio Files and Recommended Settings
Discord soundboard uploads work best when the clip is short, clear, and saved in a common audio format. MP3 files are usually the easiest choice because they are widely supported and typically remain small without losing too much quality.
For the cleanest results, use a clip with minimal background noise and a strong volume level. A sound that is too quiet may be difficult to hear during a busy voice chat, while an overly loud recording can be unpleasant for everyone listening.
A practical soundboard file should have these qualities:
- A short duration
- Clear speech or sound effects
- Minimal silence at the beginning and end
- Consistent volume
- A common format such as MP3
- No unnecessary background music
- A filename that clearly describes the sound
Trim the clip before uploading it instead of relying on Discord to remove unwanted sections. Free audio editors can cut silence, reduce background noise, and normalize volume. You can also use a phone or computer recording app for original sounds, provided the final file is saved in a compatible format.
How to Add a Sound to Discord Soundboard on Desktop
The desktop version of Discord provides the most complete soundboard management options. The names and positions of buttons may change slightly as Discord updates its interface, but the process generally follows the same sequence.
Open Discord and enter the server where you want to add the sound. You must be connected to a voice channel or open the server’s soundboard controls, depending on the version of Discord you are using.
Follow these steps:
1. Open the Discord desktop app.
2. Select the server where you want to add the sound.
3. Join a voice channel.
4. Open the Soundboard by selecting the soundboard icon in the voice channel controls.
5. Select the option to add or upload a sound.
6. Choose the audio file from your computer.
7. Enter a name for the sound.
8. Choose an emoji to represent the clip if Discord offers that option.
9. Adjust the volume slider if available.
10. Preview the sound before saving it.
11. Confirm the upload.
Once the upload finishes, the clip should appear in the server’s soundboard. Other members can use it only if the server permissions allow them to play soundboard sounds.
If the upload button does not appear, you probably lack the required permission, the server has reached its sound limit, or you are using a Discord interface that does not expose sound management in the current location.
Adding Sounds Through Server Settings
Some Discord versions place soundboard management in the server settings instead of directly inside the voice channel interface. This route is useful when you want to manage several clips, review permissions, or remove sounds that are no longer useful.
Open the server menu by selecting the server name near the top of the channel list. Choose Server Settings, then look for a section related to Soundboard, Voice, or Expressions. From there, select the option to add a new sound and upload your file.
The server settings route may also show existing sounds, their names, associated emojis, and the roles allowed to use them. This makes it easier to keep the soundboard organized than adding clips one at a time during a busy voice chat.
Soundboard Permissions and Member Access
Uploading a sound and playing a sound are separate permissions. A member may be allowed to play existing clips without being allowed to upload new ones. Server owners can control both abilities through roles and channel permissions.
The relevant permission is generally associated with managing soundboard sounds. Server administrators can grant it to a trusted role, such as moderators or community managers, without giving members broader administrative access.
A sensible permission setup looks like this:
- Administrators can upload, edit, and remove sounds.
- Moderators can manage sounds if they help maintain the server.
- Regular members can play sounds when appropriate.
- New members may have restricted soundboard access.
- Private voice channels can disable soundboard use if needed.
Giving every member upload access can quickly fill the soundboard with duplicates, inappropriate clips, or copyrighted material. Limit management permissions to people who understand the server’s rules and can maintain a consistent standard.
Controlling Who Can Play Sounds
Server owners can decide whether everyone may use the soundboard or whether only selected roles can play clips. Permissions can often be adjusted for the entire server, individual roles, or specific voice channels.
This is especially useful for study groups, work communities, gaming teams, and public servers where frequent sound effects could interrupt conversations. You can allow soundboard use in casual channels while disabling it in meetings or support rooms.
If members report that they cannot hear a sound, check both their individual permissions and the voice channel’s permissions. A role may have access at the server level but still be restricted in a particular channel.
Adjusting Sound Volume and Clip Quality
A soundboard clip should be loud enough to hear without overpowering voices. Discord may provide a volume adjustment during upload or editing, but it is better to prepare the file correctly before adding it.
Compare the clip with normal speech in a voice channel. A short shout, alarm, or music hit may sound much louder than a spoken phrase even when both files have similar technical volume levels. Reduce aggressive peaks and remove harsh background noise whenever possible.
Use these practical audio checks:
- Listen to the file through headphones and speakers.
- Check the start and end for sudden clicks.
- Remove long pauses before the main sound.
- Keep reaction clips short and immediate.
- Avoid recordings with heavy echo.
- Test the sound during an active voice call.
- Ask another member whether the volume feels comfortable.
A well-edited sound is more useful than a longer, higher-quality recording. People typically use soundboard clips for instant reactions, so the sound should begin quickly and communicate its purpose immediately.
Organizing a Discord Soundboard
As a server collects more clips, organization becomes important. A soundboard filled with vague names makes it difficult to find the right reaction quickly. Use short, descriptive names that members can recognize at a glance.
For example, names such as “Applause,” “Dramatic Sting,” “Laugh Track,” or “Wrong Answer” are more useful than filenames such as “audio_final_3.mp3.” Consistent naming also helps moderators identify duplicates.
Consider grouping sounds by purpose:
- Reactions
- Memes
- Gaming effects
- Music clips
- Community jokes
- Alerts
- Celebrations
- Moderator sounds
Use emojis consistently when Discord allows them. A laughing emoji can identify a reaction clip, while a warning symbol can mark an alert. Avoid using an emoji that does not match the audio because it can cause confusion during a fast conversation.
Managing and Removing Existing Sounds
Server managers can usually edit or remove soundboard clips through the same area used to upload them. Removing a sound affects the server’s soundboard, but it does not delete the original file from your computer.
Review the soundboard occasionally and remove clips that are outdated, duplicated, too loud, offensive, or rarely used. A smaller collection of recognizable sounds is easier to use than a crowded list containing every clip someone has uploaded.
Before deleting a popular sound, consider asking the community or saving the original file elsewhere. If you later decide to restore it, you may need to upload it again and recreate its name, emoji, and volume settings.
Common Upload Problems
The most common issue is that the soundboard upload option is missing. This normally points to a permission problem, a server limit, or an interface difference rather than a problem with your audio file.
Start by confirming that you are in the correct server and that you have permission to manage soundboard sounds. If you are a regular member, ask a server administrator whether they can upload the file for you.
Other common problems include:
- The file is too large.
- The file format is not accepted.
- The sound is longer than Discord permits.
- The server has used all available sound slots.
- Discord is outdated.
- The upload fails because of a temporary connection problem.
- The sound uploads but members cannot play it.
- The clip plays at an uncomfortable volume.
- The file contains silence or unwanted noise.
If Discord rejects the file, convert it to a standard MP3 and trim it again. Avoid repeatedly uploading the same failed file without changing anything, since the issue may be related to format, duration, or file size.
Troubleshooting Sounds That Will Not Play
When a sound appears on the soundboard but does not play, check whether you are connected to a voice channel. Soundboard clips are designed for voice-channel activity and may not function when you are not connected to one.
Next, check your output device and Discord’s voice settings. If you use headphones, Bluetooth speakers, or a USB audio interface, Discord may be sending sound to a different device than expected.
Try these fixes in order:
1. Leave and rejoin the voice channel.
2. Confirm that your output device is correct in Discord settings.
3. Check your computer’s system volume.
4. Ask whether other members can hear the sound.
5. Test another soundboard clip.
6. Restart Discord.
7. Update the desktop app.
8. Check whether the server or channel restricts soundboard use.
If other users hear the sound but you do not, the problem is probably local to your audio settings. If nobody hears it, review the clip, server permissions, and soundboard configuration.
Using Soundboard Sounds Responsibly
Soundboard clips can improve a conversation when they are used at the right moment. They can also become disruptive if members trigger them repeatedly, play loud sounds during serious discussions, or use clips that violate server rules.
Set clear expectations before enabling broad soundboard access. A short rule such as “Use sound effects during casual conversation, but avoid interrupting meetings or active gameplay” may be enough for a small community.
Think about consent and context when uploading recordings of other people. Do not add private conversations, personal information, or audio that someone reasonably expected to remain private. Publicly available audio may also have copyright restrictions, especially when used in a large community or commercial setting.
A useful server policy might include:
- Keep clips short and relevant.
- Do not use sounds to harass members.
- Avoid excessive volume.
- Respect moderators’ requests to stop.
- Do not upload private recordings.
- Remove sounds that cause repeated complaints.
- Use copyrighted material carefully.
The soundboard works best when it supports the conversation rather than competing with it.
Mobile App Limitations and Alternatives
Discord’s mobile app may allow members to play soundboard clips, but sound management and uploading are generally more reliable on desktop. If you cannot find the upload option on a phone or tablet, switch to the desktop application or desktop browser.
The desktop version also makes it easier to select files, preview audio, adjust volume, and organize several sounds. You can prepare clips on a mobile device, transfer them to your computer, and then upload them through Discord’s desktop interface.
Some servers use third-party bots for music or custom audio playback. These tools are separate from Discord’s built-in soundboard and may have their own commands, permissions, subscriptions, and privacy considerations. Use them only when the server permits them and when the built-in soundboard does not meet the community’s needs.
Built-In Soundboard Compared With Audio Bots
Discord’s built-in soundboard is best for short clips that members can trigger quickly. It is integrated with the server, requires no bot commands, and makes common reactions easy to access.
Audio bots are more suitable for longer music playback, playlists, or automated audio features. They may offer more control, but they can also be harder to configure and may stop working when permissions, hosting, or service policies change.
| Feature | Discord Soundboard | Audio Bot |
|—|—|—|
| Best for | Short reactions and effects | Music and longer playback |
| Setup | Managed through Discord | Requires bot installation and permissions |
| Playback | Quick button or sound selection | Usually command-based |
| Server control | Built into roles and channels | Depends on bot settings |
| Organization | Limited to soundboard clips | May include playlists and queues |
| Maintenance | Usually simple | Can require updates or troubleshooting |
For basic reactions, the native soundboard is usually the more practical option. For music sessions or extended audio, a properly configured bot may be a better fit.
Practical Sound Ideas for Different Servers
The best sounds depend on the community’s personality and the conversations taking place. A gaming server may use short victory sounds, alert tones, or humorous reactions. A study server may prefer gentle notifications or avoid soundboard use altogether.
Community servers can create a small collection of recurring sounds connected to inside jokes, celebrations, or moderation events. A team server might use brief confirmation sounds during casual calls, while a content creator community may use branded audio clips.
Examples include:
- A short applause clip after a successful presentation
- A harmless buzzer for an incorrect guess
- A drumroll before announcing a result
- A brief celebration sound for completed tasks
- A custom greeting for new members
- A soft notification for casual reminders
- A clean reaction clip for funny moments
Avoid choosing sounds solely because they are popular online. A clip that is funny once may become irritating after repeated use. Test each sound in the context where members will hear it and remove anything that quickly becomes annoying.
Best Practices for Better Soundboard Clips
The strongest soundboard libraries are curated rather than crowded. Each clip should have a clear purpose, a recognizable name, and a volume that fits the rest of the collection.
Keep the beginning and ending tight. A reaction sound that takes several seconds to start loses its usefulness, while a clip that ends with long silence makes the soundboard feel unpolished. Basic editing can solve both problems.
For consistent results:
- Use similar volume levels across clips.
- Keep names short and descriptive.
- Remove duplicates.
- Avoid sounds with excessive bass or sharp treble.
- Preview each clip before making it available.
- Review the collection every few months.
- Ask members which sounds are genuinely useful.
- Reserve special slots for community favorites.
You can also create a simple naming convention, such as “Reaction – Laugh,” “Alert – Warning,” or “Game – Victory.” This makes the soundboard easier to scan as the collection grows.
For more Discord customization ideas, see [Internal Link: Discord Server Customization Tips], which can help you organize channels, roles, permissions, and other community features alongside the soundboard.
Copyright and Privacy Considerations
Adding a sound to a private server does not automatically give you permission to use every recording or song. Copyright rules can apply to music, film dialogue, video game audio, podcasts, and other protected recordings.
Short clips may still be protected, and the legal position can depend on how the material is used, where the server operates, and whether the community or business is public. When in doubt, use audio you created yourself, audio released under a suitable license, or sounds supplied by a legitimate royalty-free source.
Privacy matters as well. A voice recording of a friend, coworker, or community member should not be uploaded without permission. Avoid clips containing names, addresses, phone numbers, private discussions, or other personal information.
A safe approach is to maintain a folder containing original recordings, licensed downloads, and notes about where each sound came from. That makes it easier to verify ownership or remove a clip if a concern arises.
Conclusion
Adding a custom clip is straightforward when you have the right server permission, a compatible audio file, and an available soundboard slot. The desktop Discord app is usually the easiest place to upload, preview, name, and manage sounds, while server settings provide more control over roles and access.
Keep clips short, clear, and properly trimmed. Consistent volume and descriptive names make the soundboard easier for everyone to use, while sensible permissions prevent the collection from becoming cluttered or disruptive. If an upload fails, check the file format, duration, server capacity, and your role before troubleshooting Discord itself.
The best soundboards are selective. A few well-chosen reactions, alerts, and community sounds can add personality without interrupting every conversation. By following these steps, you can confidently manage how to add sounds to discord soundboard and create a collection that fits your server’s culture.
Frequently Asked Questions
Can anyone upload sounds to a Discord soundboard?
No. Uploading normally requires permission to manage soundboard sounds, which is usually given to server owners, administrators, or selected moderator roles. Regular members may play existing clips if the server allows them to use the soundboard.
Why can’t I see the add sound option?
The option may be hidden because you lack the required permission, the server has no available sound slots, or you are using a mobile interface with limited management features. Try the desktop app or ask an administrator to check the settings.
What audio format works best for Discord soundboard clips?
MP3 is usually the most convenient format because it is widely supported and produces reasonably small files. Keep the clip short, remove unnecessary silence, and check the audio before uploading it to avoid volume or quality problems.
Can I use the same sound on multiple Discord servers?
Yes, but you generally need to upload the sound separately to each server. A sound added to one server does not automatically appear in another, and each server may have different permissions or available soundboard slots.
How do I remove a sound from the Discord soundboard?
Open the server’s soundboard management area or server settings, locate the sound, and choose the remove or delete option. You need the appropriate management permission, and deleting the server copy does not remove the original file from your device.