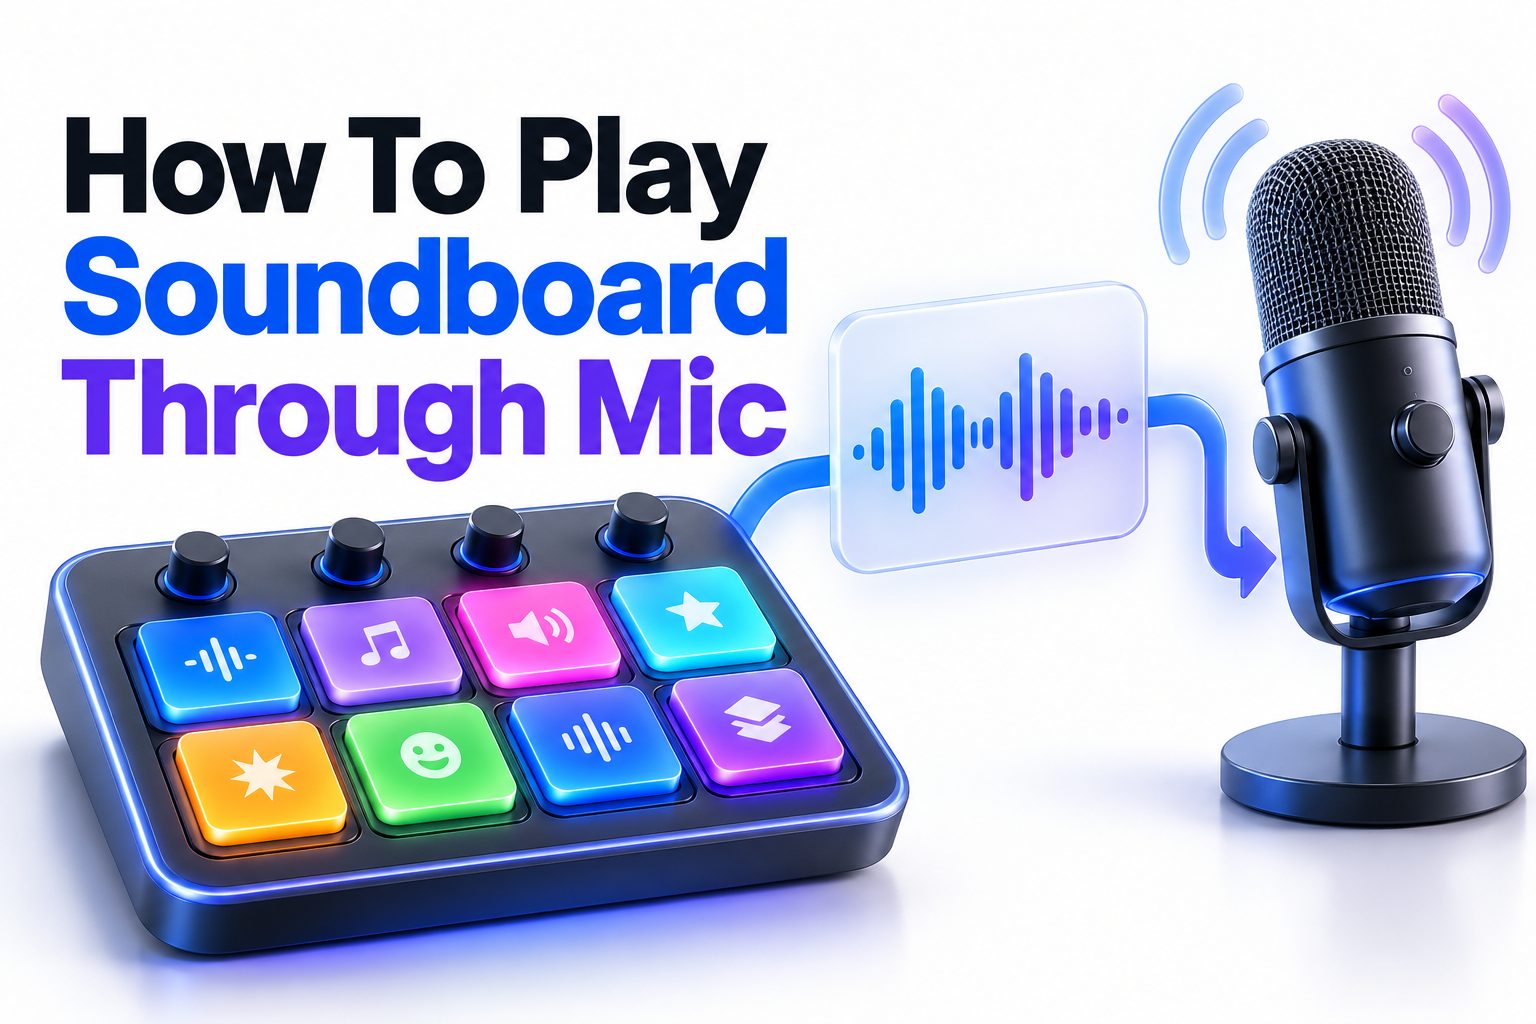
Soundboards are useful for adding music, reactions, sound effects, voice clips, and short audio cues to voice chats, livestreams, gaming sessions, and online meetings. The challenge is making those sounds play through your microphone input without replacing your actual voice or creating echo.
The most reliable solution is to route your soundboard into a virtual microphone. Your soundboard sends audio to that virtual input, while Discord, OBS, Zoom, or another voice application treats it like a regular microphone. You can then switch between your physical microphone and the soundboard feed, or combine both sources through an audio mixer.
This guide explains how to play soundboard audio through your mic on Windows, Mac, Discord, OBS, and other platforms. You will learn which tools are needed, how to configure the correct input and output devices, how to mix your voice with sound effects, and how to fix common problems such as silence, distorted audio, delay, and feedback.
What You Need Before Setting Up a Soundboard
The exact setup depends on the app and operating system you use, but the basic requirements are similar. You need a soundboard application, an audio routing method, and a voice or streaming app that allows you to choose an input device.
A physical microphone alone cannot normally play computer audio into a voice chat. Your microphone captures sound from the room, while soundboard clips are stored and played digitally inside your computer. The audio must be routed through a virtual audio device or hardware mixer before another application can receive it as microphone input.
Most setups include:
- A soundboard application
- A physical microphone for your voice
- A virtual audio cable or audio mixer
- Headphones to prevent feedback
- Discord, OBS, Zoom, or another target application
A virtual audio cable creates a software connection between two programs. The soundboard sends audio into the virtual cable, and your chat or recording application selects the cable as its microphone. An audio mixer can combine your real microphone and soundboard audio into one output.
Choosing Between a Virtual Cable and Audio Mixer
A virtual cable is usually the simplest option for playing clips in a voice chat. It is inexpensive or free, uses very little hardware, and works well when you only need to route soundboard audio into Discord or another application.
An audio mixer offers more control. You can balance your microphone and sound effects independently, adjust volume while speaking, mute individual sources, and send different mixes to your headphones, stream, and voice chat. Hardware mixers are useful for frequent streaming, podcasting, or live production, but they take longer to configure.
Use a virtual cable when:
- You mainly use a soundboard in one chat application.
- You want a low-cost software setup.
- You do not need advanced audio routing.
- You are comfortable switching input devices.
Use a mixer when:
- You regularly combine voice, music, and sound effects.
- You need separate audio mixes for a stream and a chat.
- You want physical volume controls.
- You want to monitor several audio sources at once.
Windows Setup With a Virtual Audio Cable
On Windows, the usual process is to install a virtual audio cable, select it as the soundboard output, and then choose it as the microphone input in your chat application. The names may vary depending on the software, but the routing principle remains the same.
Install a trusted virtual audio cable or virtual mixer that creates a playback device and a recording device. Windows may display these as separate inputs and outputs. Read the device names carefully because selecting the playback side instead of the recording side is a common source of confusion.
After installation, restart any application that was already open. Voice programs often detect available microphones only when they launch. If Discord or OBS was running during installation, close and reopen it before changing the input settings.
Configuring the Soundboard Output
Open your soundboard’s audio settings and find the output device. Set it to the playback side of the virtual cable. The soundboard will now send each clip into that virtual connection instead of directly to your speakers or headphones.
Play a test clip and open the Windows sound settings. Check the input or recording section for the virtual cable’s recording device. If its level meter moves while the clip plays, the soundboard is sending audio correctly.
If the meter does not move, check these settings:
- Confirm the soundboard clip is not muted.
- Make sure the correct virtual cable output is selected.
- Check the soundboard’s master volume.
- Verify that Windows has not disabled the virtual device.
- Restart the soundboard after changing its output.
Sending the Soundboard Into Discord
In Discord, open User Settings, choose Voice & Video, and locate the Input Device menu. Select the recording side of your virtual cable. Discord will now receive the soundboard audio as microphone input.
The soundboard should be audible to other people in the channel, but your own voice may not be included. That happens because your physical microphone and the virtual cable are separate input sources. To send both together, you need an audio mixer or a routing application that combines them.
Discord’s input sensitivity and noise suppression can also affect soundboard clips. Automatic processing may cut off quiet sounds, shorten clips, or remove music that Discord mistakes for background noise. Test the voice settings with the soundboard and adjust processing carefully.
A basic Windows routing sequence looks like this:
1. Install a virtual audio cable.
2. Set the soundboard output to the virtual cable playback device.
3. Set Discord’s input to the virtual cable recording device.
4. Play a clip and confirm the input meter responds.
5. Adjust volume and voice processing settings.
6. Use headphones to prevent the chat audio from re-entering the microphone.
Combining Your Voice With Soundboard Audio
A virtual cable by itself usually routes one source. If you want to speak and play clips through the same microphone input, use a virtual mixer or audio routing program. These tools let you add your physical microphone and soundboard as separate channels, then send the combined signal to Discord.
Create one channel for your physical microphone and another for the soundboard. Assign the virtual cable as the soundboard channel’s input or output, depending on the program’s design. Set the mixer’s combined virtual output as the microphone device in Discord.
Keep the microphone and soundboard levels separate. Your voice should remain clear when a clip is playing. A useful starting point is to keep sound effects noticeably quieter than your speech, then increase them gradually during testing.
You can also route the combined audio to your headphones for monitoring. Be careful not to monitor the same output twice, because duplicate monitoring can create an echo or a short delay.
Mac Setup Using Audio Routing Software
macOS does not include a built-in virtual microphone that works exactly like a simple loopback cable. To play soundboard audio through a microphone input, you generally need audio routing software that creates virtual devices or combines multiple sources.
Install a compatible virtual audio driver or mixer, then open the system audio settings. Create a multi-output or aggregate configuration only when needed. For most soundboard setups, a virtual routing application is easier because it lets you control the soundboard, microphone, and monitoring paths in one place.
Set the soundboard’s output to the virtual device. In Discord, Zoom, or another application, choose the corresponding virtual input as the microphone. If your goal is to combine your voice and sound effects, add the physical microphone as a separate channel in the routing software.
Mac users should pay close attention to permissions. Open System Settings, select Privacy & Security, and review microphone access for the soundboard, routing software, browser, and communication application. An application may appear correctly configured but remain silent if macOS has not granted microphone permission.
Using OBS to Route Soundboard Audio
OBS is useful when the final destination is a livestream, recording, or a platform that receives audio through OBS. Add your microphone and soundboard as separate audio sources, then control their levels in the OBS audio mixer.
For a soundboard, you can add application audio, media sources, or audio captured from a selected device. The best option depends on where the clips are played. If the soundboard has its own output device, capture that device rather than capturing all desktop audio.
OBS can send a mix to a virtual camera or virtual audio device when supported by your setup. Choose the resulting virtual microphone in the application receiving the signal. Always test the complete chain because audio may be visible in the OBS mixer without being sent to the final application.
Common OBS controls include:
- Volume sliders for balancing voice and sound effects
- Mute buttons for instantly silencing a source
- Filters for noise reduction or compression
- Monitoring options for hearing a source locally
- Separate scenes for different audio configurations
Keep monitoring disabled unless you specifically need it. Monitoring the final output through speakers can create feedback, while monitoring through headphones can add a slight delay depending on your routing software.
Playing Soundboard Audio in Other Voice Applications
The same routing method works in many voice and video applications. Open the application’s audio settings, locate the microphone or input device option, and select the virtual mixer output or virtual cable recording device.
Some applications offer separate settings for microphone input, speaker output, noise suppression, echo cancellation, and automatic gain. The microphone input should be the combined virtual device if you want to send both your voice and clips.
For meetings, be cautious with music and loud effects. Business applications may automatically reduce or filter non-speech audio. You may need to disable automatic noise removal or select an original-audio mode, if the application provides one and your use case allows it.
The main limitation is that each program handles audio processing differently. A clip that sounds clean in a local recording may be compressed, shortened, or filtered when sent through a voice chat. Test inside the actual platform rather than relying only on the soundboard’s preview.
Soundboard Setup Comparison
Method | Best for | Main advantage | Main limitation
Virtual audio cable | Simple voice chat routing | Easy and inexpensive | Usually handles one main source
Virtual mixer | Voice plus clips | Combines multiple audio sources | Requires more configuration
OBS | Streaming and recording | Strong control over scenes and levels | More setup than a basic chat solution
Hardware mixer | Frequent live use | Physical controls and flexible routing | Costs more and requires desk space
Understanding Input and Output Device Names
Many soundboard problems come from confusing input and output terminology. An output is where an application sends sound. An input is where another application receives sound. Your headphones are an output, while your microphone is an input.
A virtual cable often appears as two related devices. The playback or output device receives sound from the soundboard. The recording or input device passes that sound to Discord, OBS, or another application.
The names may look similar, so avoid guessing. Play a sound and watch the level meters in the operating system or routing software. The correct receiving device should show activity when the clip is playing.
Set the Sample Rate and Volume Correctly
Digital audio devices need compatible sample-rate settings. If one device is set to a different rate than the others, you may hear crackling, dropouts, distorted playback, or no sound. Common settings include 44.1 kHz and 48 kHz.
Choose one sample rate across your microphone, virtual devices, mixer, and recording application when possible. Many streaming and video workflows use 48 kHz, while some music software uses 44.1 kHz. Consistency matters more than choosing one particular value.
Volume is equally important. A soundboard clip that is too quiet may be removed by noise suppression. A clip that is too loud can clip and distort. Watch the audio meters and leave headroom instead of pushing every source to maximum volume.
Use headphones during setup and testing. Speakers can feed soundboard clips back into the physical microphone, causing echo or repeated audio. Headphones also make it easier to hear whether a clip is delayed, distorted, or playing twice.
Common Soundboard Problems and Fixes
When the soundboard does not work, troubleshoot the signal path one stage at a time. First confirm that the clip plays inside the soundboard. Next check the soundboard’s selected output. Then verify that the virtual device receives the signal. Finally, confirm that the chat or recording application uses the correct input.
Do not change several settings at once. Making multiple changes makes it difficult to identify the actual cause. Test after each adjustment and write down the device names if your system has several similar virtual inputs.
Use this troubleshooting checklist:
- The soundboard clip plays locally.
- The soundboard output is set to the intended device.
- The virtual device’s level meter shows movement.
- The chat application uses the virtual recording input.
- The application has microphone permission.
- The input is not muted.
- Noise suppression is not removing the clip.
- Your headphones are connected to the correct output.
- No second application is controlling the device exclusively.
Fixing Echo, Feedback, and Duplicate Audio
Echo usually occurs when the same audio reaches the listener through more than one path. For example, a soundboard may be captured by desktop audio, routed through a virtual cable, and then captured again by OBS. The result is a delayed duplicate.
Start by identifying every place where the soundboard is captured. Keep one intentional path and mute or remove the others. In OBS, check whether the clip is included in both an application-audio source and a general desktop-audio source.
Feedback happens when the output from your headphones or speakers is picked up by the microphone and sent back into the call. Use headphones, lower speaker volume, or disable microphone monitoring. If the problem continues, inspect the mixer for a channel routed back into itself.
A small delay is normal in some software routing setups, but a noticeable delay can make conversations uncomfortable. Reduce unnecessary monitoring, remove duplicate processing, and choose lower-latency audio settings when available.
Improving Sound Quality and Clip Balance
Prepare your clips before adding them to the soundboard. Trim long silences, remove unwanted background noise, and normalize levels so one clip is not dramatically louder than the next. Short, clearly labeled clips are easier to trigger during a conversation or stream.
Avoid playing copyrighted music in public streams or voice channels without the appropriate rights. A soundboard is technically capable of playing any audio file, but platform rules and copyright restrictions still apply.
Use compression carefully. Compression can make quiet clips easier to hear, but excessive compression makes audio sound flat and can increase background noise. For voice chats, clarity is usually more useful than maximum loudness.
Useful clip-management practices include:
- Use descriptive names instead of vague file numbers.
- Keep sound effects short and easy to recognize.
- Create separate folders for reactions, alerts, music, and voice clips.
- Test every clip at normal conversation volume.
- Remove clips that contain sudden peaks or harsh distortion.
- Keep a backup of your soundboard library.
Soundboard Etiquette in Voice Chats
A soundboard can improve a group conversation when used sparingly. It can also become disruptive if every sentence is interrupted by a loud effect. Ask before using clips in a private group, especially when new people join the channel.
Keep your microphone available for normal speech. If you route everything through one virtual microphone, remember to mute the soundboard channel when you need to talk privately or when another person is speaking.
In professional meetings, classrooms, interviews, and support calls, avoid using sound effects unless they are part of the planned presentation. The technical setup may work perfectly while still being inappropriate for the setting.
For streaming, consider assigning clips to easy-to-reach hotkeys, but avoid placing important controls where they can be triggered accidentally. A dedicated mute control is especially useful when a clip starts at the wrong moment.
Alternatives to a Traditional Soundboard
Some chat and gaming platforms include built-in soundboard features. These can be easier to use because the platform manages the routing internally. The tradeoff is reduced control over custom audio, microphone mixing, or output destinations.
A media player with hotkeys can also work when combined with a virtual audio device. This is useful for users who already organize clips in a music library. The main drawback is that media players may not offer soundboard-style buttons, instant replay, or per-clip volume control.
A hardware sampler or small audio interface provides another option. These devices play clips independently of the computer and can send them into a microphone or mixer channel. They are reliable for live use but cost more than software routing.
Choose the simplest solution that matches your needs. Someone who plays two short effects during a gaming session does not need the same system as a streamer managing multiple audio sources, scenes, and live guests.
Internal Resources for Related Audio Setup
If you are also recording gameplay or livestreams, see [Internal Link: how to set up OBS audio] for guidance on separating microphone, desktop, and application audio.
For cleaner voice communication, [Internal Link: microphone troubleshooting tips] can help you diagnose noise, clipping, low volume, and monitoring problems before adding a soundboard.
A Practical Test Routine
After configuring the routing, test the system in stages rather than immediately joining a busy call. Record a short local clip or use the voice application’s input meter to confirm that the signal is present.
Speak into the microphone while playing a sound effect. Check whether both sources are audible, whether your voice remains clear, and whether the clip is much louder than your speech. Ask a trusted friend to listen if the platform’s local preview does not represent the final result.
Then test silence. Stop playing clips and confirm that your microphone does not send unwanted desktop audio. Open a video or notification sound briefly to ensure that unrelated computer audio is not being routed into the microphone.
Finally, test the controls you will use during real sessions. Practice muting the soundboard, changing its volume, switching inputs, and stopping a clip quickly. A setup is not ready until you can control it without interrupting the conversation.
Conclusion
The most dependable way to play soundboard audio through a microphone is to route the clips through a virtual audio cable, virtual mixer, audio interface, or hardware mixer. The soundboard sends audio to the routing device, and Discord, OBS, Zoom, or another application selects the resulting virtual input as its microphone.
A basic virtual cable is enough for simple one-source routing, while a virtual mixer is better when you need to combine your voice and sound effects. OBS works well for streaming and recording, and a hardware mixer provides fast physical control for frequent live use.
Always test the complete signal path, use headphones, keep levels balanced, and watch for duplicate audio. If sound is missing, check each stage from the clip itself to the final input device. With the correct routing and a little testing, how to play soundboard through mic becomes a straightforward audio setup rather than a trial-and-error problem.
Frequently Asked Questions
Can a soundboard play through a regular microphone?
A soundboard cannot usually send audio through a physical microphone by itself. It needs a virtual audio device, mixer, audio interface, or similar routing method that combines or redirects the computer’s audio into the application’s microphone input.
Why can people hear the soundboard but not my voice?
Your voice and soundboard are probably using separate input paths. Select a virtual mixer output that combines both sources, then choose that combined device as the microphone in Discord, OBS, or your voice application.
Why does the soundboard audio sound distorted?
Distortion usually comes from excessive volume, clipping, incompatible sample rates, or duplicate audio processing. Lower the soundboard level, check each mixer meter, use matching sample rates, and confirm that the clip is captured only once.
Can I use a soundboard in Discord without extra software?
Some Discord versions or servers may offer built-in soundboard features, but custom routing through your microphone generally requires additional software or a hardware mixer. A virtual audio cable is the simplest option for custom clips.
How do I stop soundboard echo?
Use headphones, disable unnecessary microphone monitoring, and remove duplicate capture paths. Check whether both desktop audio and the virtual cable are sending the same clip into your call or recording application.